Parameter control for modules
The parameter window allows convenient input and definition of racks without specific prior knowledge regarding assemblies or parameters.
Example
Creating a basic rack by means of parameter input mask
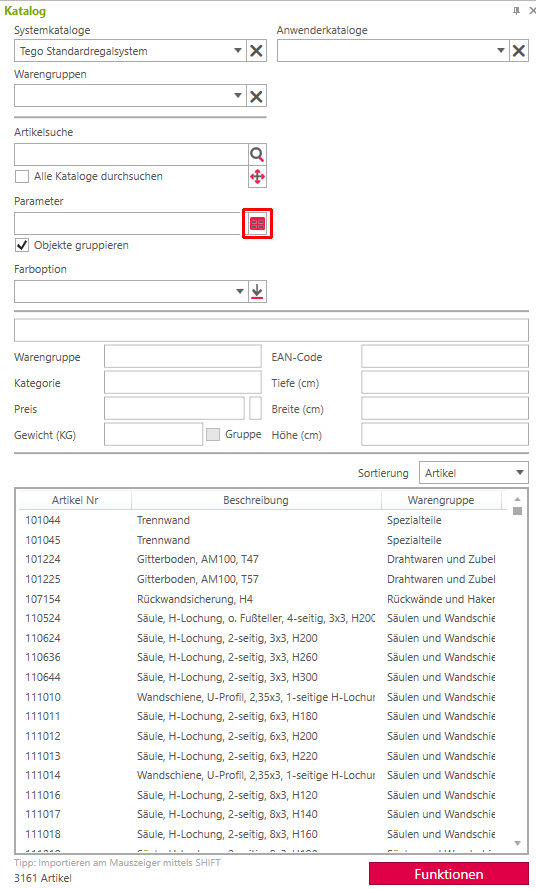
- Open the catalog window and the Tegometall catalog.
- Read a socket assembly into your planning (e.g. S1647CA).
- Then read in a corresponding backplane assembly (e.g. GL081614C4).
- Now enter the assembly key for the shelf in the catalog window (e.g. MB147C) and confirm with [ENTER].
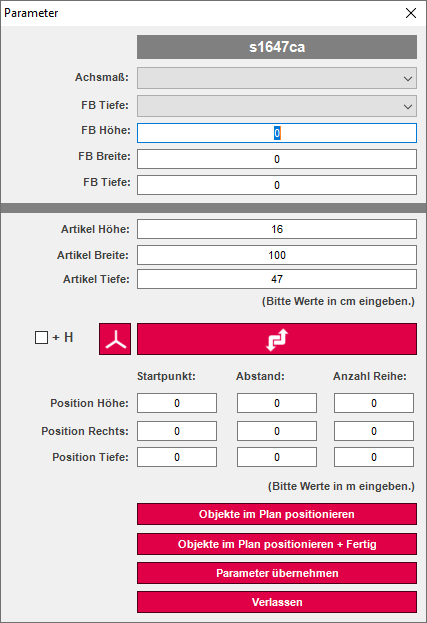
- Now click on the red symbol next to the parameter input. The input window on the right will then open.
- In the "Start point" field, for example, enter 0.5 under "Distance" 0.4 and under "Number of row" 2, in each case only in the "Height position" row.
- Now click the Position Objects in Plan + DONE button further down.
- Now the first two shelves were read into the drawing and placed at the corresponding position.
- Next, enter a different assembly key (e.g. MB137C) in the item search of the catalog window and press [ENTER].
- Then click on the red symbol again to access the parameter control.
- In the "Start point" field, for example, enter 1.3 under "Distance" 0.4 and under "Number of row" 2, again only in the "Height position" line.
- Now click the "Position objects in plan + DONE" button again.
- Now more shelves are read into the drawing.
- The process is now finished or you read in further accessories according to this scheme.
- As a last step, select the entire shelf and click on "Create group" in the Shopfitting tab and assign a desired name there. This name will then also be output during automatic labeling or displayed when creating a position sheet.