Animations / Videos
With the help of animations, you can simulate an inspection of your planning and then save it as a video file.
Overview
Animations
To create an animation, proceed as follows. Navigate to the Presentation tab and then click on the Animation button.

Overview

- Name of the currently selected animation
- Create a new animation
- Delete the selected animation
- Add or create a new animation path
- Timeline, shows the duration of the current animation
- Play and stop the animation
- Closing the animation view
By default, the name of the animation is displayed at the top left(Animation 1); to create an additional animation, you can click on New at the front.
The following options are available to you:
- Blank animation
- Circle animation
Here you can draw a circle around the center of a single object to put it in focus - Duplicate animation
To remove an animation, click on the Delete button.
Creating an animation path

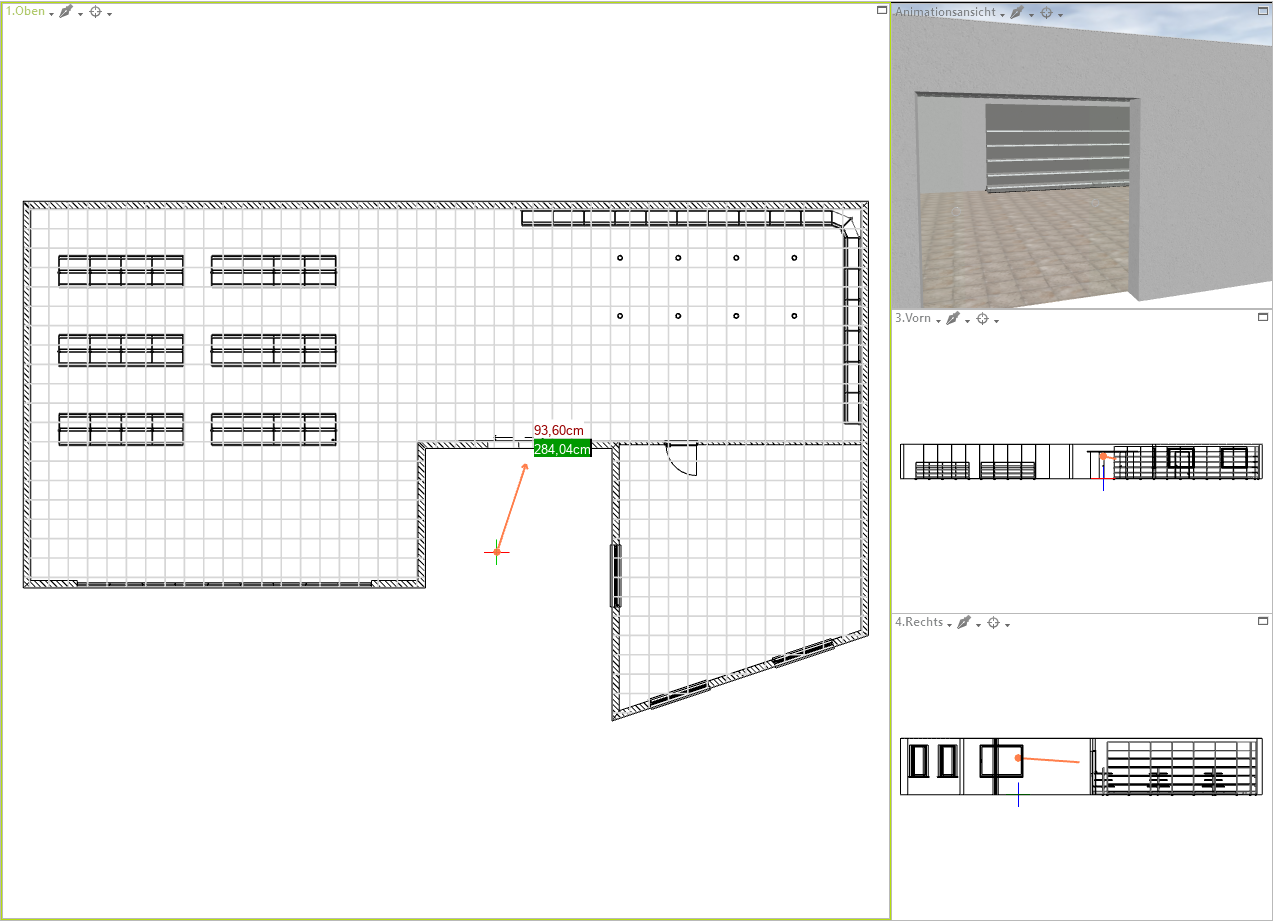
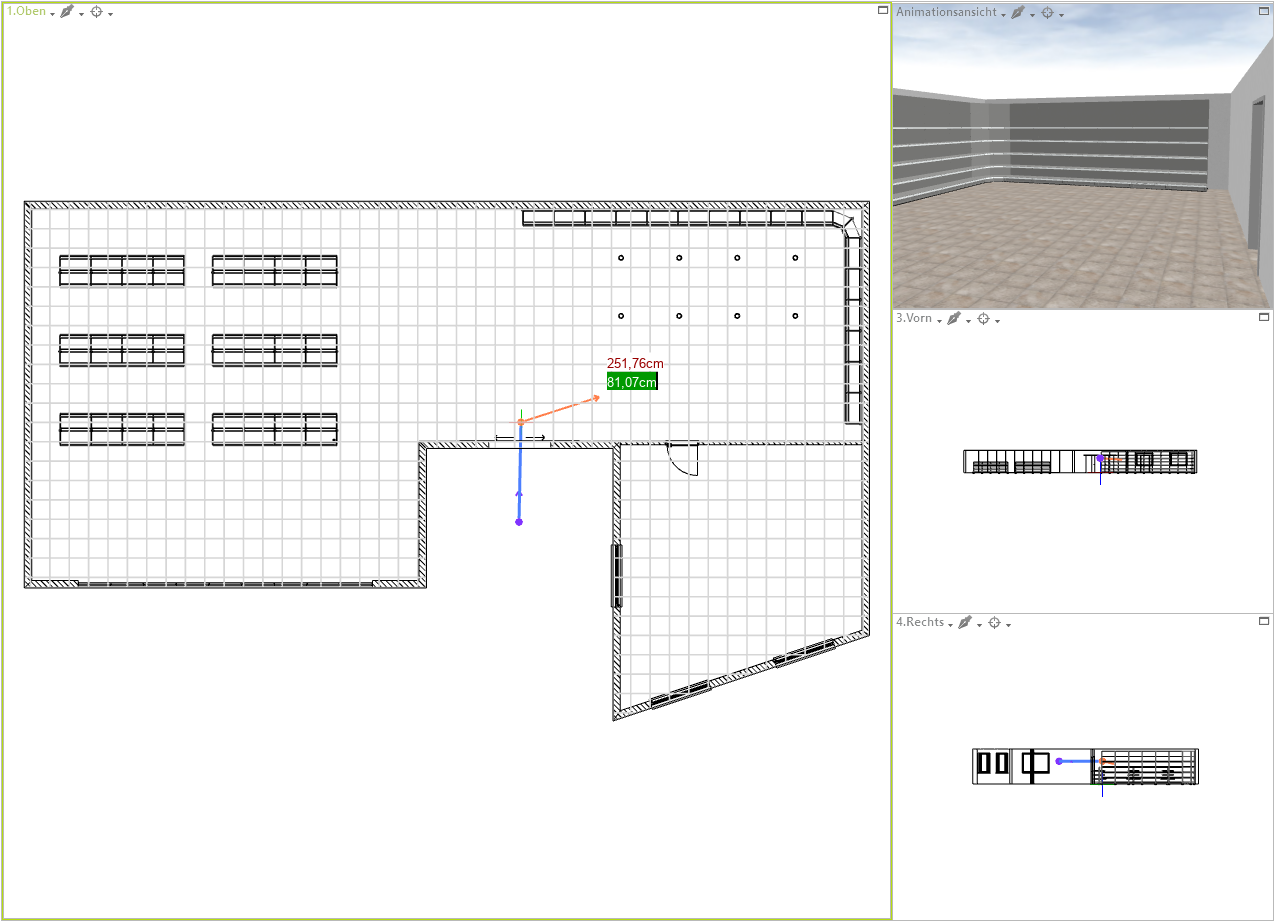
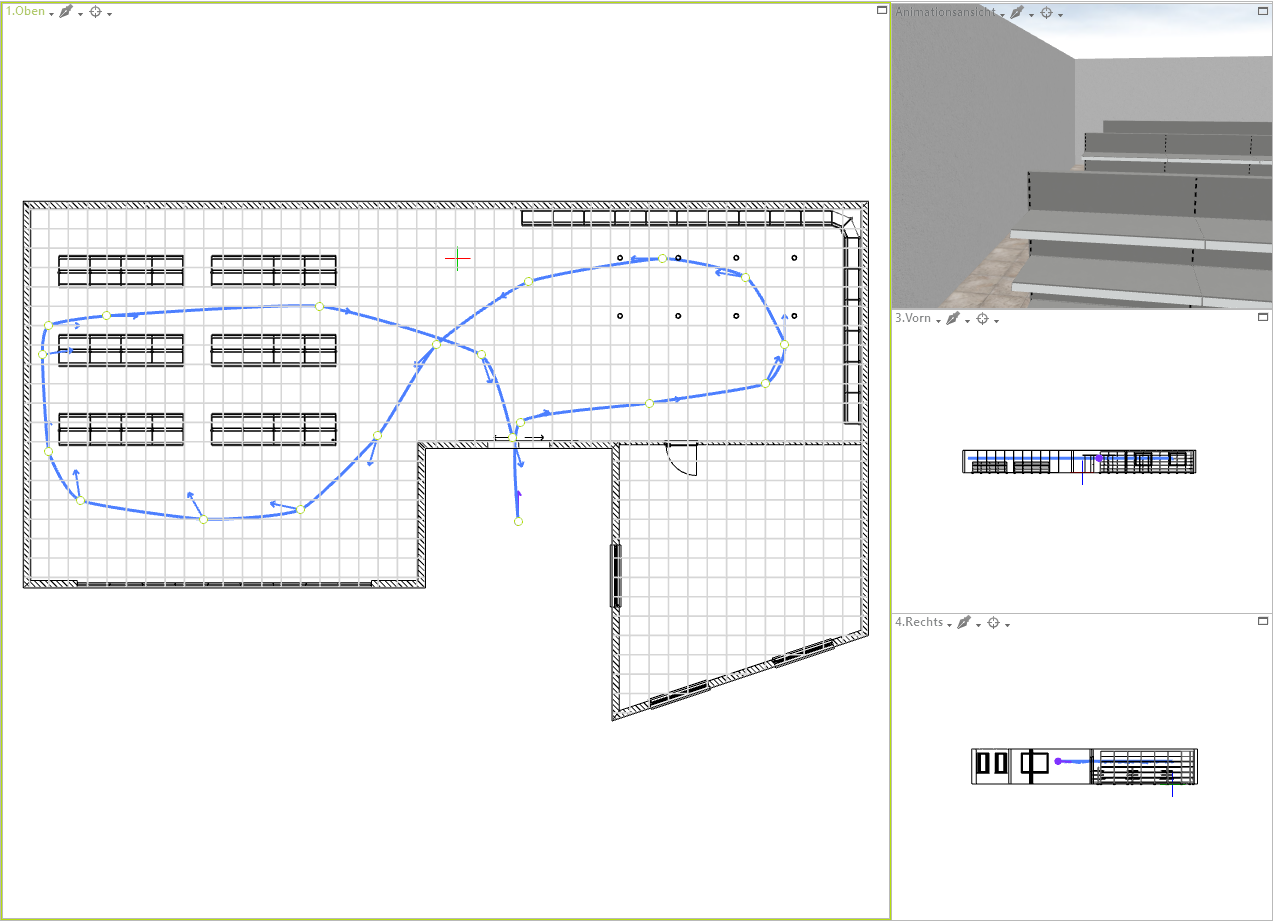

Editing an animation path
To edit the path of your animation, click once on the blue path. The individual points of the path that you have previously defined will then be highlighted. If you click on one of the points, you can move it by holding down the mouse button and thus change its position. You will also see the orange arrow at the selected point; by clicking on its tip, you can also change the viewing direction afterwards. It is also possible to change the properties of the selected point by clicking on Properties in the toolbar on the right.
The following options are available to you:
- Name
Here you can change the name of the previously selected point - Speed
Specifies the speed from point to point. This is done in meters per second and can be freely defined. So you can let the animation run faster or slower at certain points. - Pause
Here you can specify whether to wait for a certain time at the selected point. This is done in milliseconds (1000ms = 1s) - Viewing height
Indicates the height at which the camera is positioned - Target height
Specifies the height at which the camera is looking. - Fixed direction
Here you can click on the checkbox to specify whether the viewing direction should be fixed.
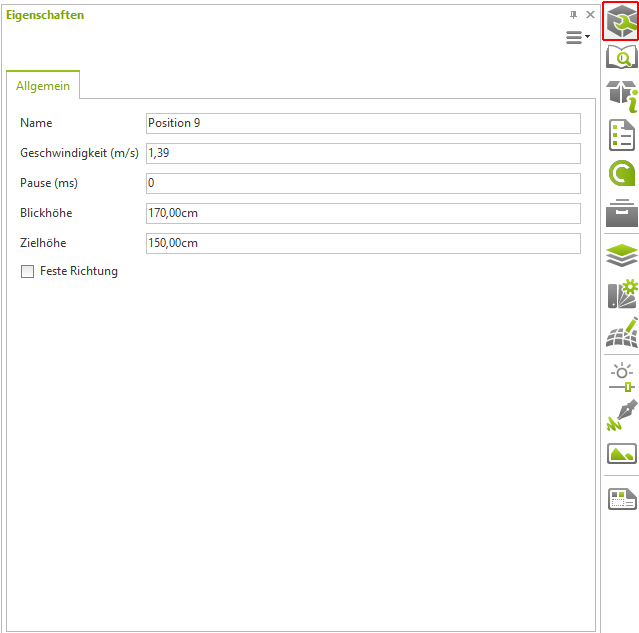
These properties are always to be considered from point to point. After that you have to select the next point and you can make the corresponding settings there.
Rendering an animation
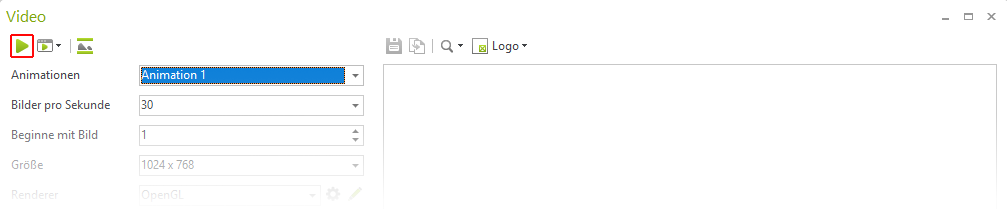
To render an animation go to the top of the Register at Presentation and click the Video button there.

The following window will then open, where you can select the following:
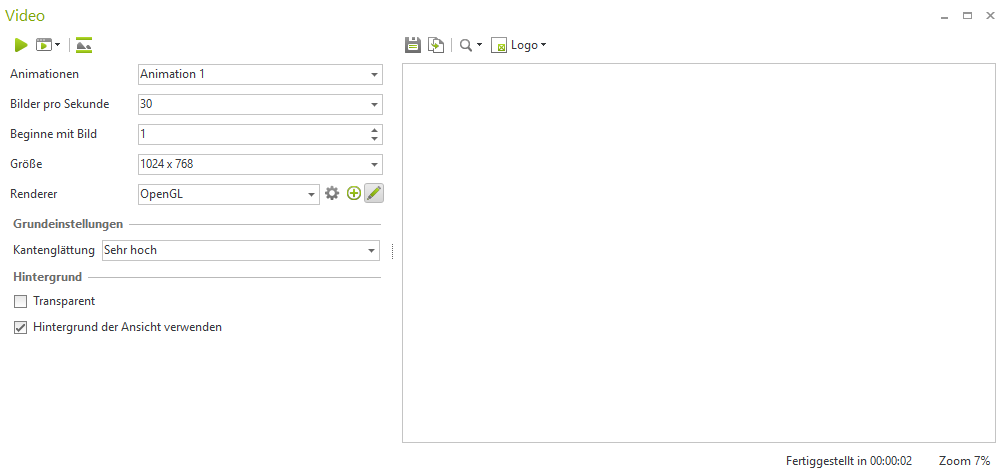
- Animations
At this point you select the animation path to be rendered.
In this example, animation 1 - Frames per second
Here you can specify how many frames per second the subsequent video should run at. On the one hand, this influences the time required for rendering and, on the other, how smoothly the video runs at the end. The following frame rates are recommended for a smooth video: 25, 30 or 60 frames per second. The higher the frame rate, the higher the number of individual frames.
- Start with image
Here you can specify which image the animation should start with. This is useful if, for example, the animation should break off, so that you can restart at this point later. - Size
Here you can set the resolution of the video, whether HD, Full HD, 4K etc. - Renderer
Here you have the choice between OpenGL and OSPRay as renderer
When selecting the renderer, the OpenGL renderer is recommended as it is many times faster than the OSPRay renderer.
Once all settings have been made, click on the green play button in the render window above to start rendering.