Labeling, dimensioning: modules / sections
In the "Shopfitting" area, there is the "Labeling" and "Dimensioning" function. This is a tool for placing the name of a section as a text element on the section.
Setting texts at cuts
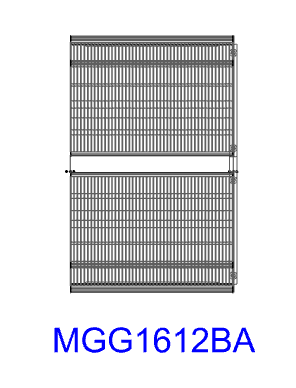
- Select sections in the floor plan of the planning
- Click on the function "Shopfitting" and then "Lettering
- A text with the identifier now appears at the selected section
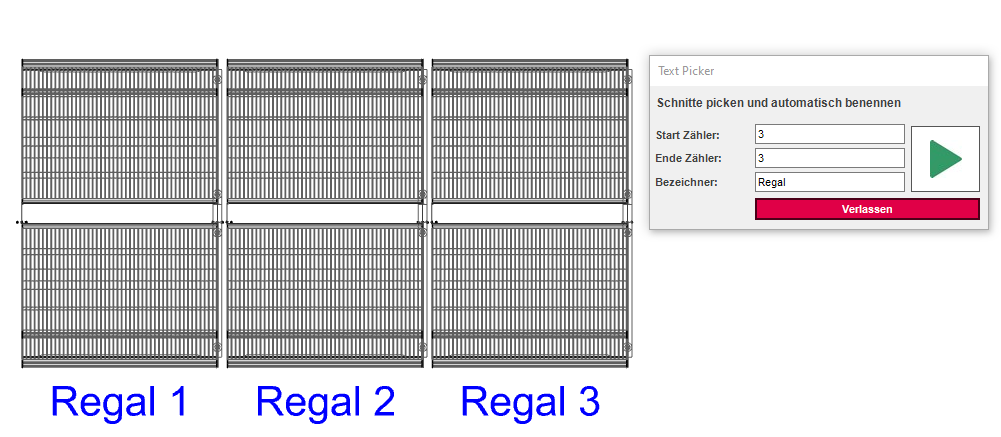
To create texts on multiple cuts, you can label many cuts by selecting them multiple times without performing the steps above:
- No section is selected in the floor plan
- Click on the function "Shopfitting" and then "Lettering
- A window opens. By entering a number in the "Start counter" field, the start of the count can be defined. Conversely, the end of the count can be specified in the "End Counter" field. To define a label before the number, a text sequence can be entered in the "Label" field.
- Click on the triangle to start
- Now the desired cuts can be clicked and a label is generated for each click on the cut
Setting dimensions on sections
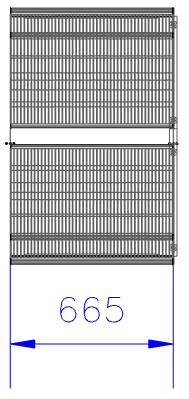
- Select sections in the floor plan of the planning
- Click on the function "Shopfitting" and then "Dimensioning
- A measurement now appears on the selected section
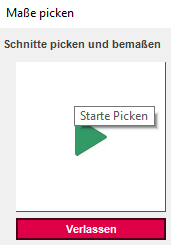
To create a dimension on multiple sections, you can add a dimension to many sections by selecting them multiple times without performing the steps above:
- No section is selected in the floor plan
- Click on the function "Shopfitting" and then "Dimensioning
- A window opens. To start click on the triangle
- Now the desired cuts can be clicked and a dimension is generated for each click on the cut