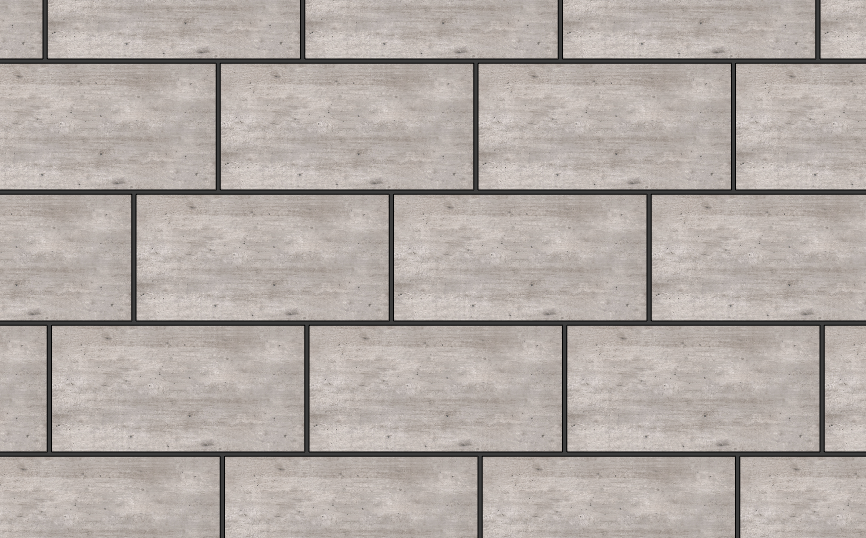
Draw tiles
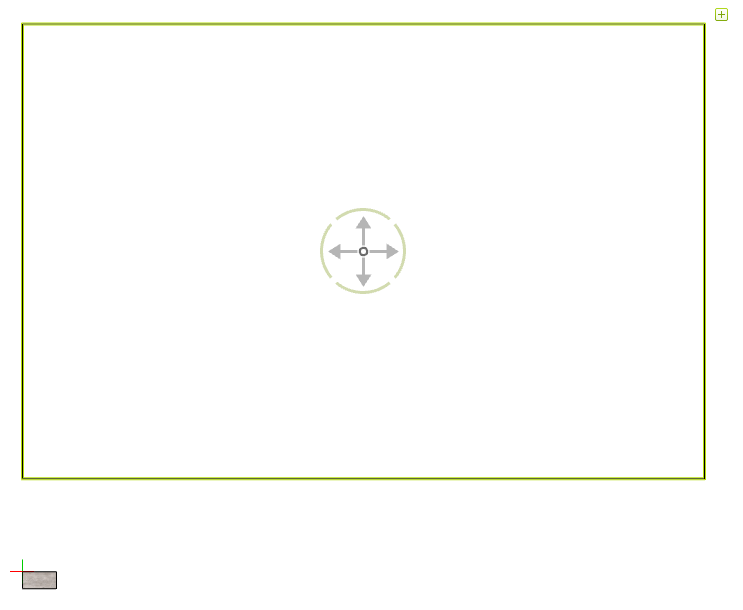
Draw by means of Rectangle Tool / Line Tool the outline for your floor. Hide everything except the drawn outline to make the work easier.
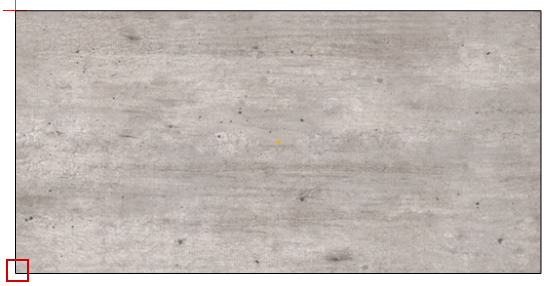
Draw a tile with the desired dimensions (Rectangle tool) and place a material on this tile. As an example, a tile with the following dimensions is used here: 30 x 15 cm
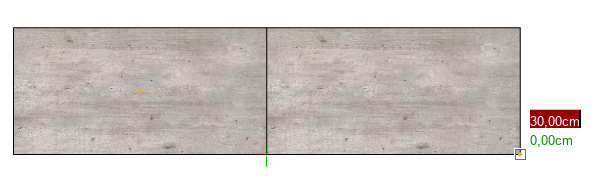
Select the outline for the floor and choose in the tab Edit the function Arrangement. Next, select your tile. Select the desired starting point (base point), in this example the lower left point.
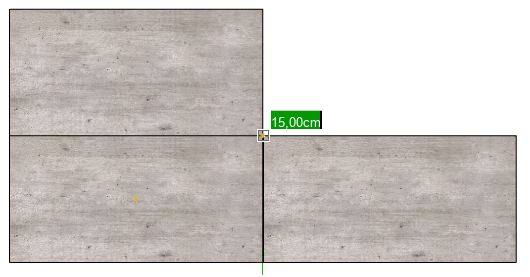
Now move the mouse a little to the right and enter the width of your tile at the number highlighted in red. In this example the value 30 (horizontal distance to the next object). Alternatively, you can also click on the bottom right point of the tile.
Then move the mouse up and specify the height of your tile. In this example the value 15 (vertical distance to the next object). Alternatively, you can also click on the upper right point of the tile.
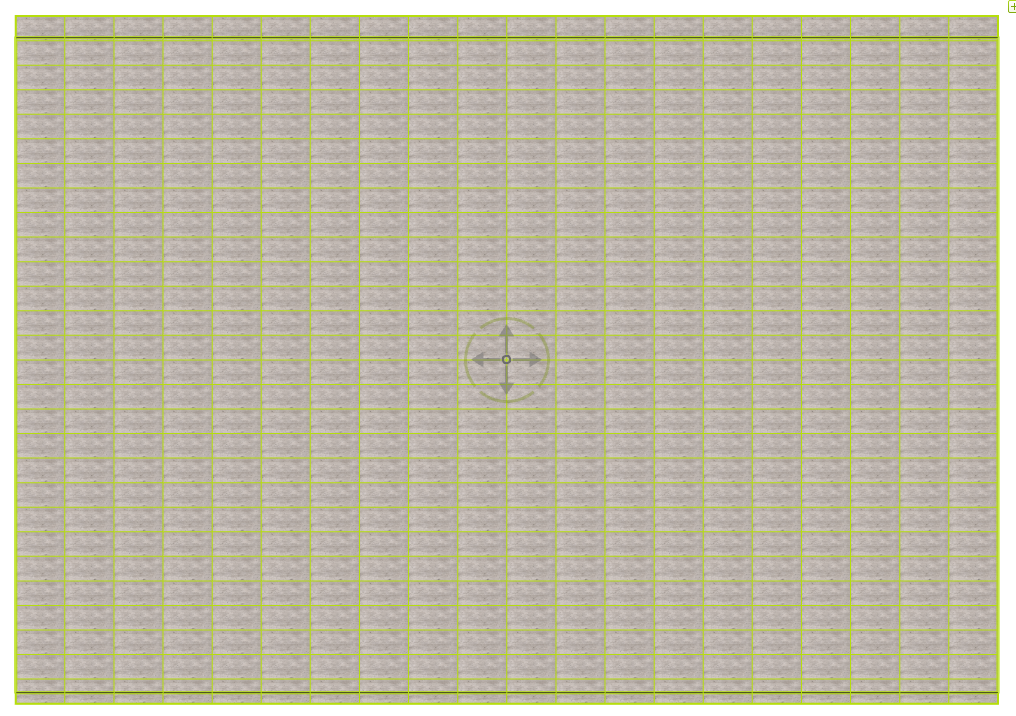
The previously drawn outline is now automatically filled with the tiles.
Assigning the properties
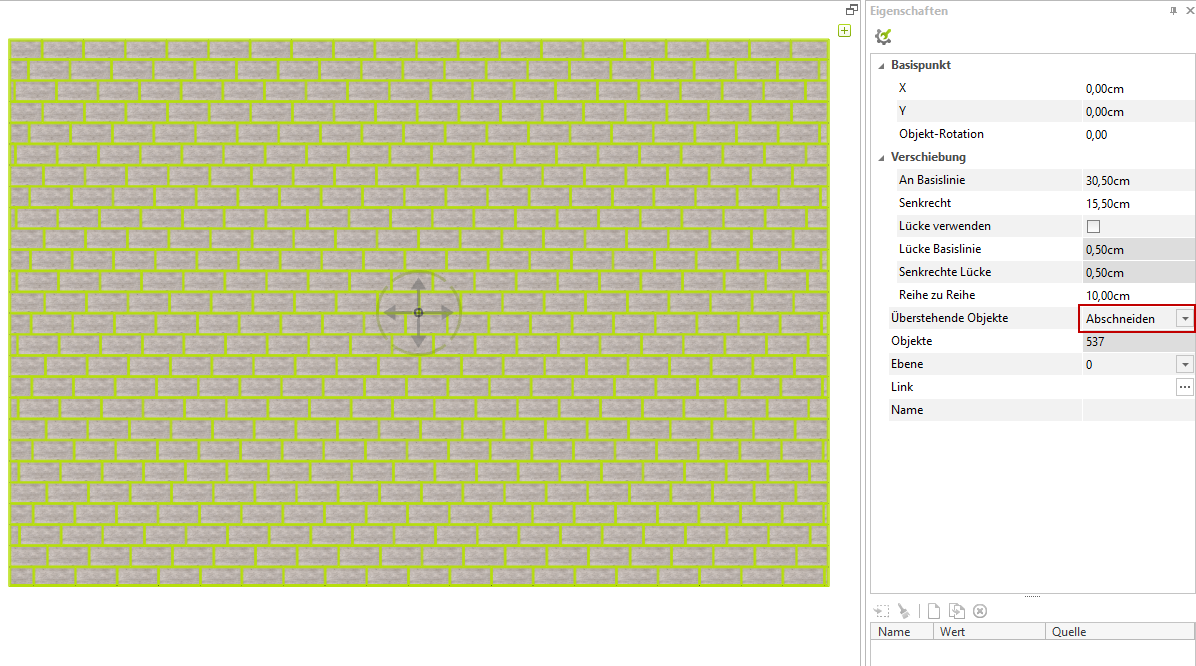
In the Properties window you can set the following values.
- Baseline: This is used to set the joint vertically. In this example, the value 15.5 cm creates a joint of 5mm.
- Vertical: This allows you to set the joint horizontally. In this example, the value 30.5 cm creates a joint of 5mm.
- Row to row: This can be used to specify an offset. In this example, 10 cm was selected.
Gaps in the tile pattern
If there are any gaps at the edge of the tile pattern, click on the tiles and select them from the menu at the top, Basis point Center off. This will center the tiles to the surface and the gaps will disappear.
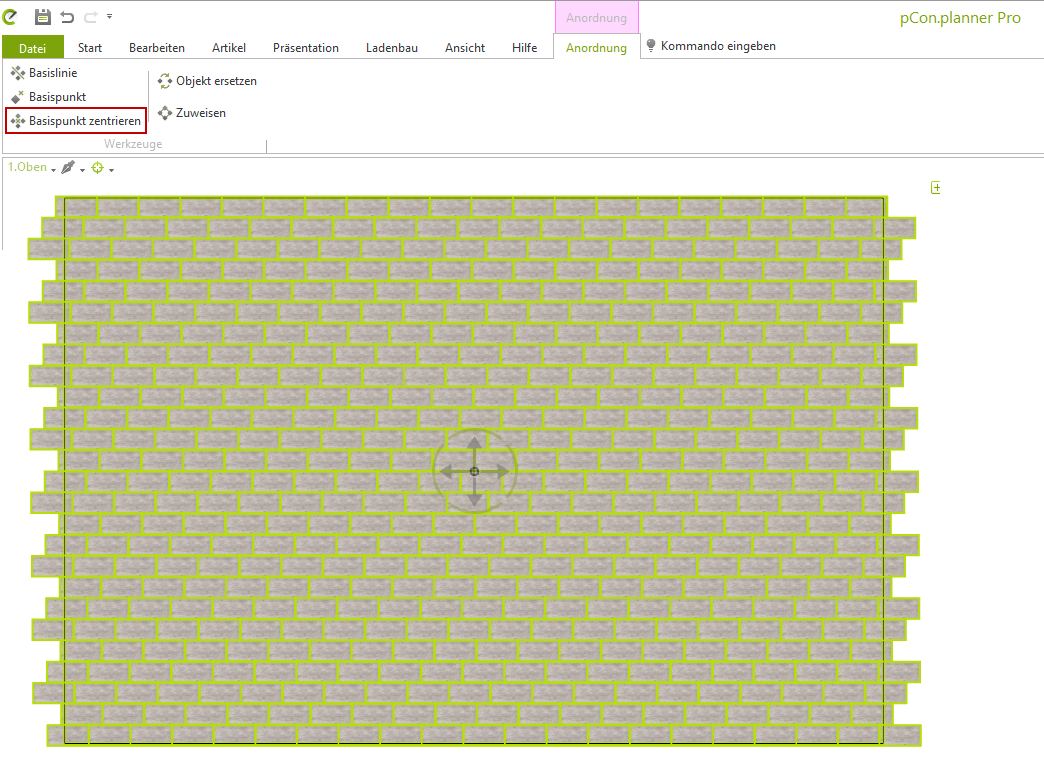
Afterwards you can select Overhanging objects, select Truncate.
Now you can show all hidden objects again.
Color of the joint
To assign a color to the tile joints, assign a floor in your drawn room. Then give it a color or texture. Finally, move the tiles up a little (about 2 mm).