Multi-content picture
Overview
- Definition:
- Prerequisite
- Variations
- Creating a multi-content picture based on a Tego wall shelf
- Convert a VS article to a pCon article
- Render Multi Content Pictures
- Upload of saved multi-content pictures to the cloud
- Share Function
Definition:
The difference between a normal image and a Multi-Content Picture consists of saving commercial data in the image, such as item number, manufacturer, color, etc.
This is particularly useful for planning, as your client can see online which items have been scheduled and can obtain additional information about them via web links.
Prerequisite
To Multi-Content Picture To create it, the 3D object must contain OFML data or be a manual item. Furthermore, it is necessary to use the online service Impress in combination with a cloud provider such as Dropbox.
Currently, it is not possible, Impress with the cloud provider Google Drive to connect, as this blocks the web application.
Variations
There are two variants of Multi Content Pictures:
- As a single image
- As a 360° Panorama
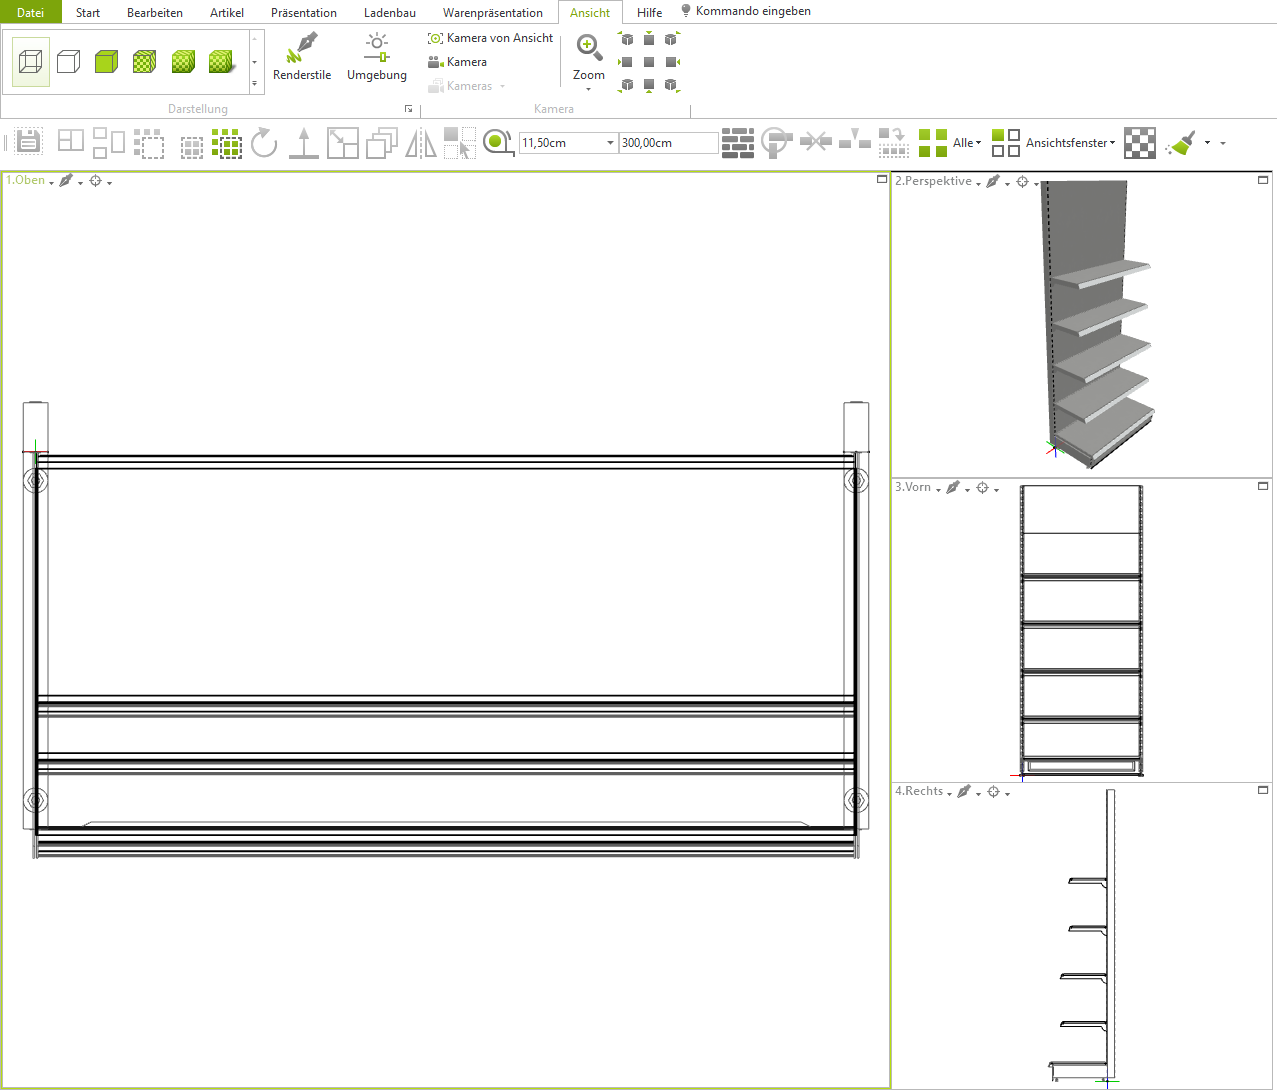
Creating a multi-content picture based on a Tego wall shelf
Reading in a standard shelf:
In the Shopfitting tab, click on "Open Catalog." There, select the Tego Catalog under "System Catalog.".
In the Article Search input field, please enter the following article number:
WRS1624CS
Then, double-click the shelf to load it into your empty plan.
Convert a VS article to a pCon article
This is necessary so that information for the Multi-Content Picture can be deposited.
Select the previously inserted wall shelf and ungroup it, either using the keyboard shortcut CTRL+U or via the registry Shopfitting and there via the button Disband group.
Now select a single shelf and go to the tab Shopfitting on the button Tools and click on the opening context menu Generate article.

This gave the shelf a pCon Article converted. You can recognize this by the green Plus sign, which is located above the shelf. Clicking on it opens the Properties window, where additional information can be stored.
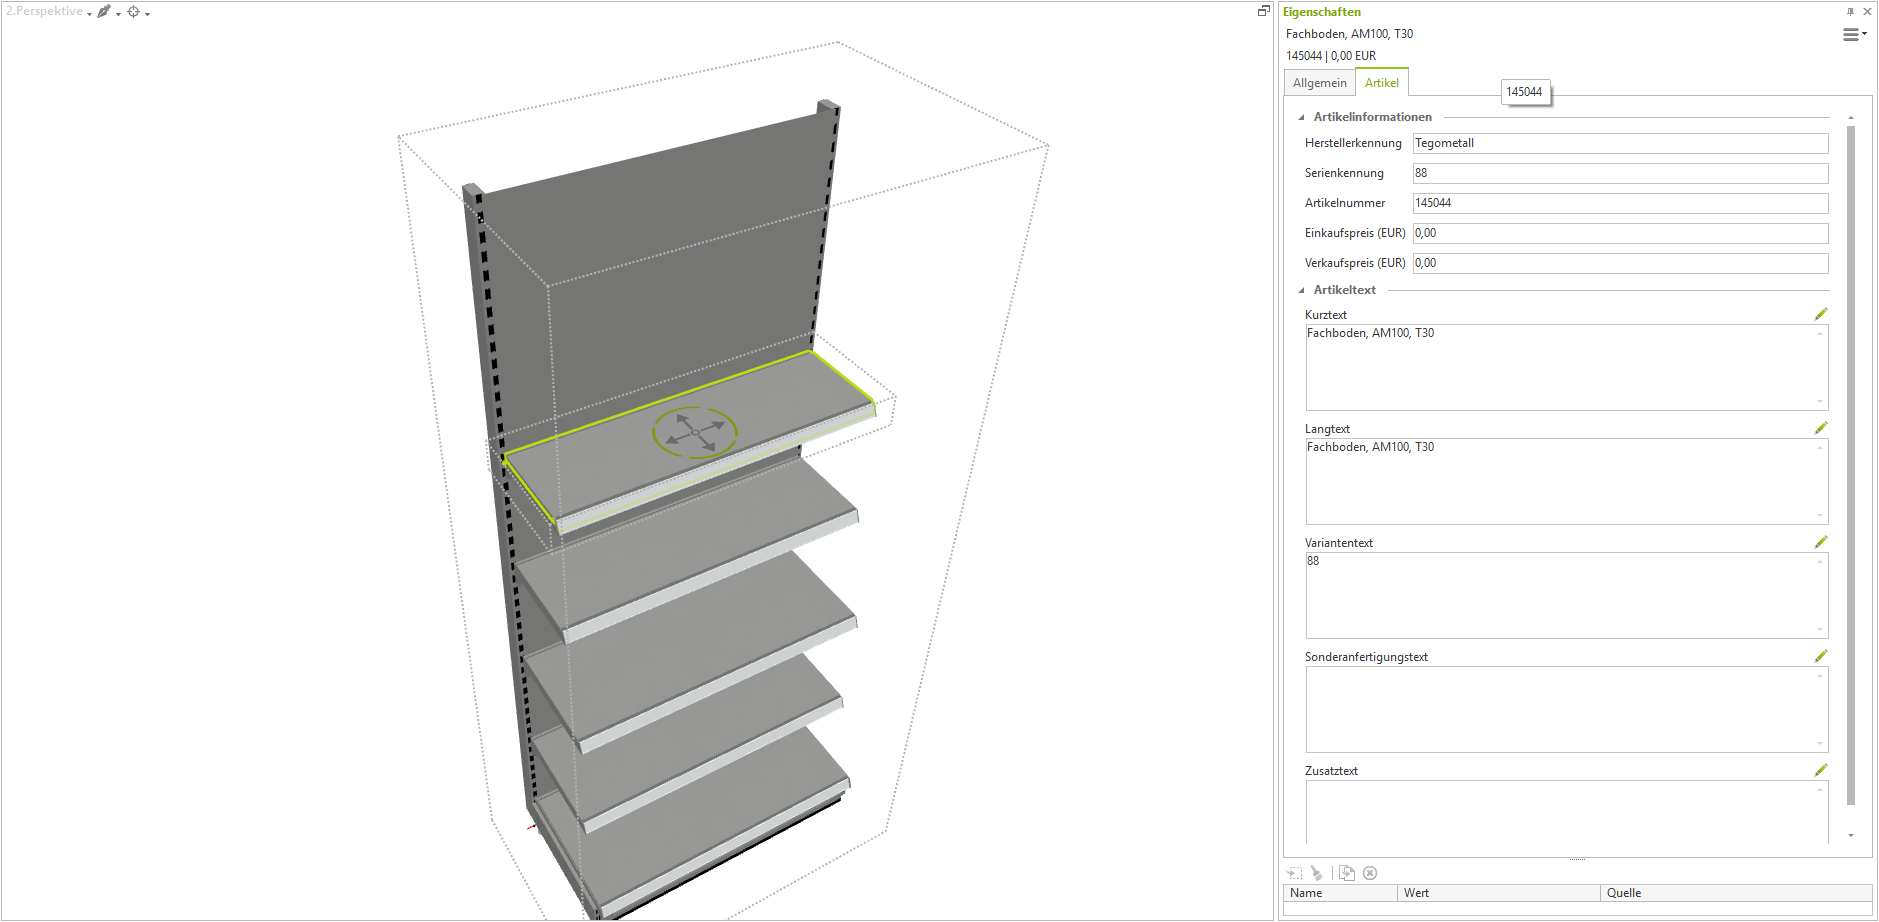
In the open Properties window are the following fields pre-filled
Item Information
- Manufacturer Identification (Manufacturer)
- Series Identification (Color Number)
- Item number
Article text - Short text
- Long text
- Variant text (color number)
Purchase price and selling price can be neglected in this example, as this information does not appear online.
You can customize the text in these fields as you wish.
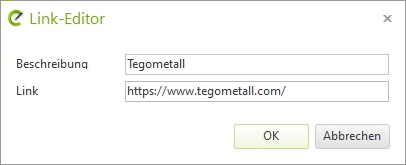
Under Link Sure, what should I translate? Article link to a web address, e.g.: the manufacturer or even your own company.
To do this, click on the three ... dots, which will open a window where you can enter the name of the link and the web address.
This is how you can proceed for each individual item. In this example, for the column, the metal shelf, the base, the top back panel, and a bracket.
After all items have been populated with information, select the entire wall shelf and go to the tab Shopfitting on Create group and give your wall shelf a name there.
Render Multi Content Pictures
Open the Render window About the tab Presentation and a click on Picture.
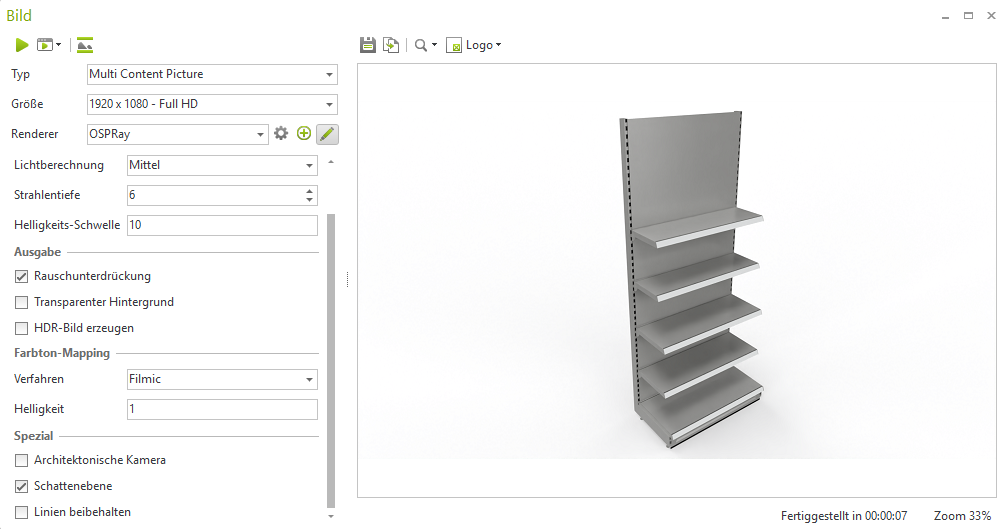
Under Type Choose Multi-Content Picture In terms of size, you can determine the image size. In this case 1920 x 1080 (Full HD). As a renderer, you can choose between, OpenGL or OSPRay.
It is recommended to OSPRay to use, as the images are of higher quality and more realistic.
In the Render settings, Can you the following Options set, under the heading Special:
- Shadow realm
- Extended Reflections
- Extended ambient lighting
After all settings have been made, click on the Start button for rendering and then save the image locally on your computer first. The file type is .eimg.
Upload of saved multi-content pictures to the cloud
The prerequisite for this is a cloud provider that is connected and set up with the planning program. In this case, the example is, Dropbox.
Log in to the cloud provider with your credentials and, after logging in, navigate to the Apps online folder and go into the folder there. pCon.planner Shared.
Here you can save your Multi-Content Picture per Drag & Drop upload.
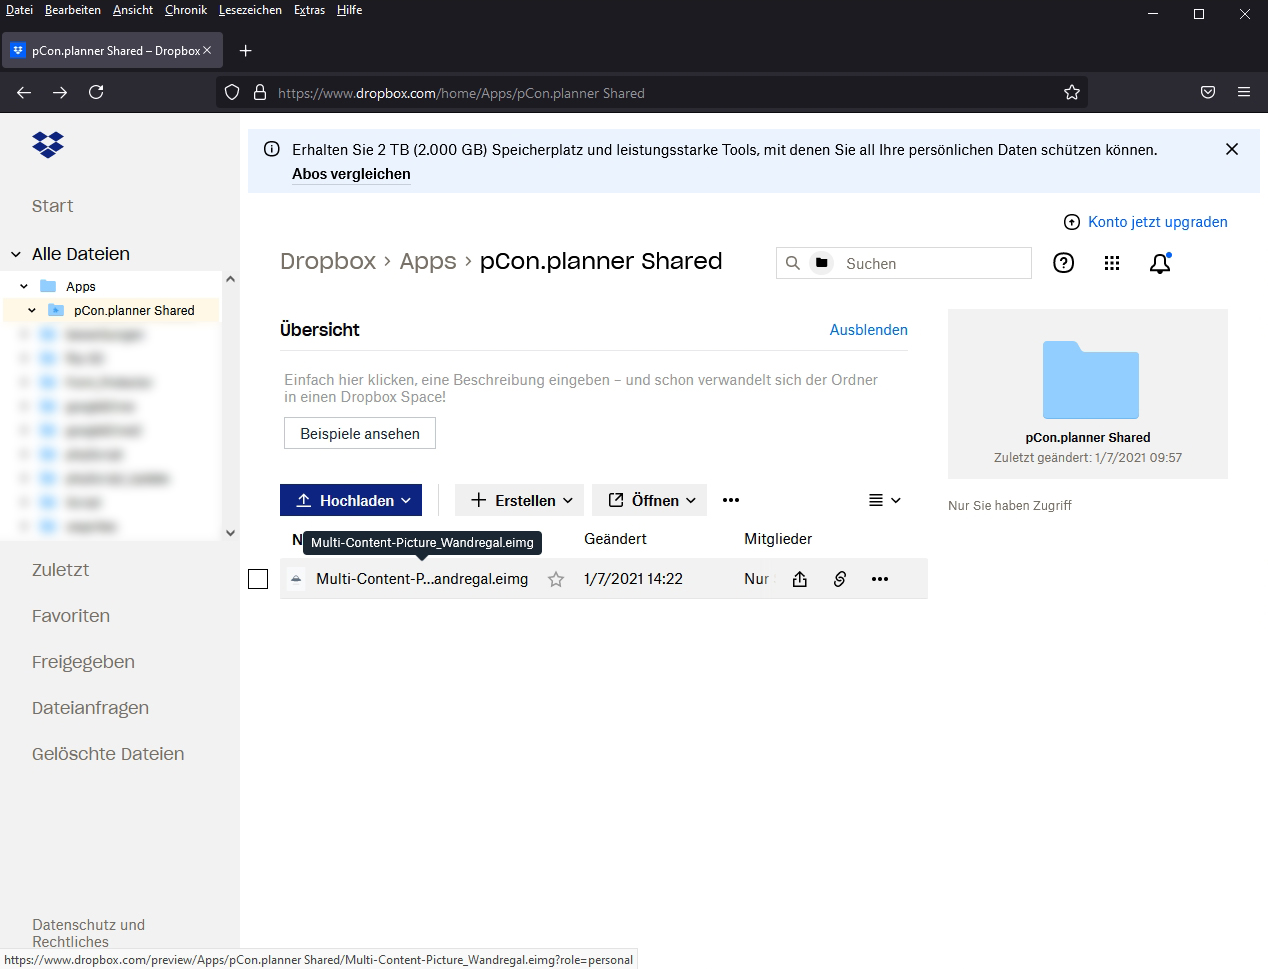
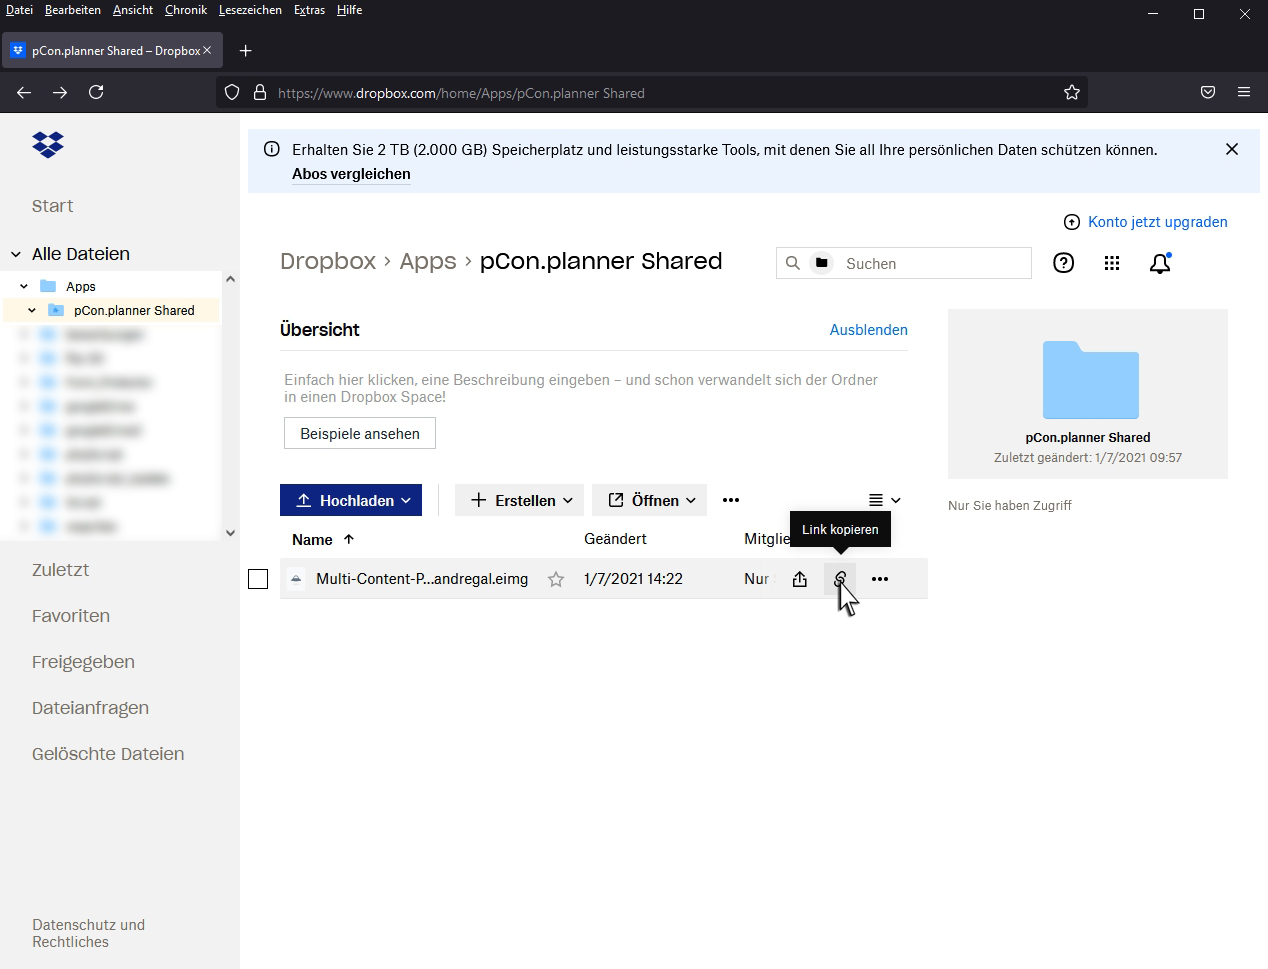
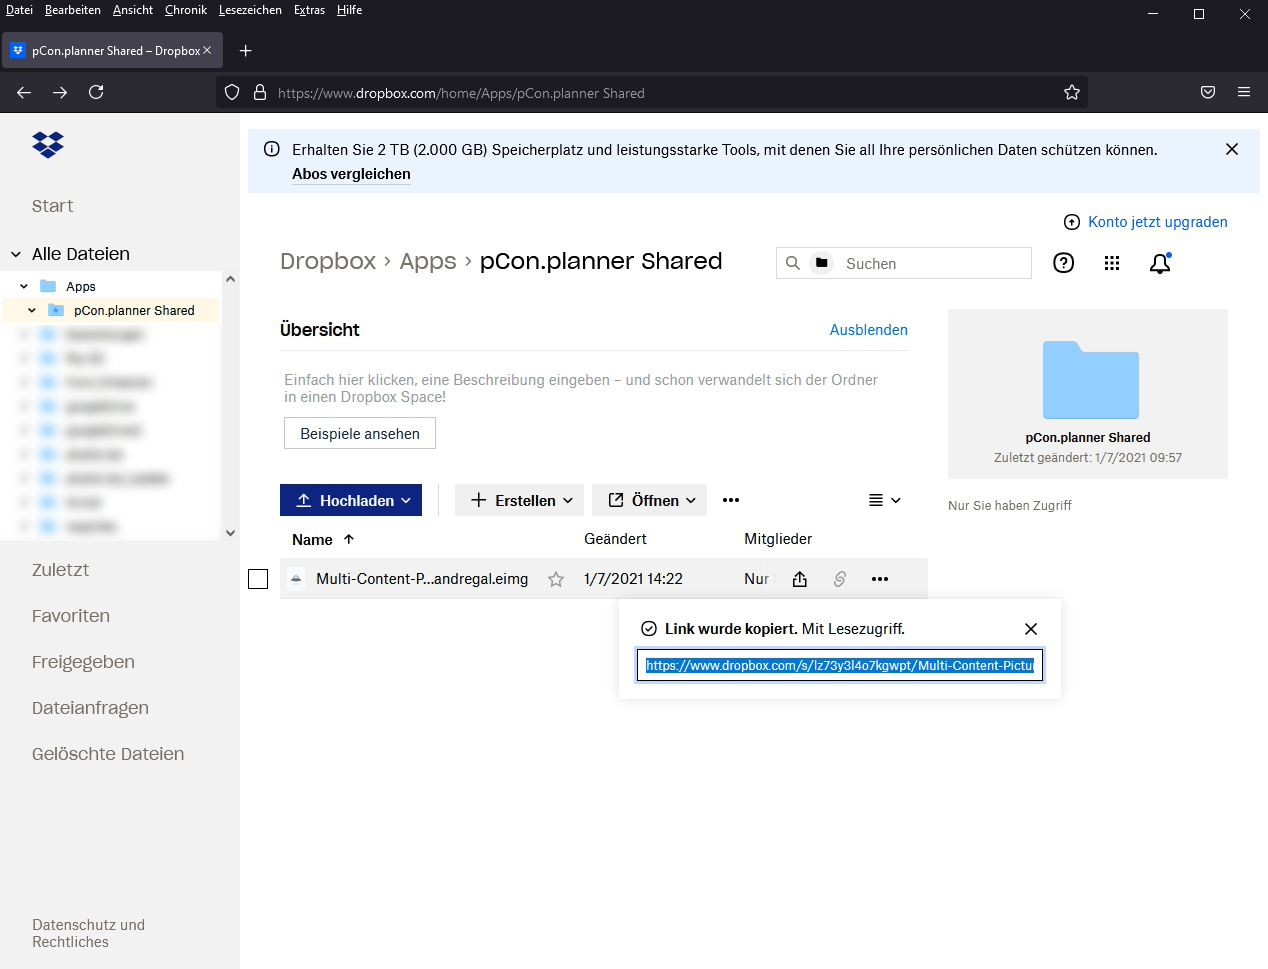
After this is done, copy the link to this file.
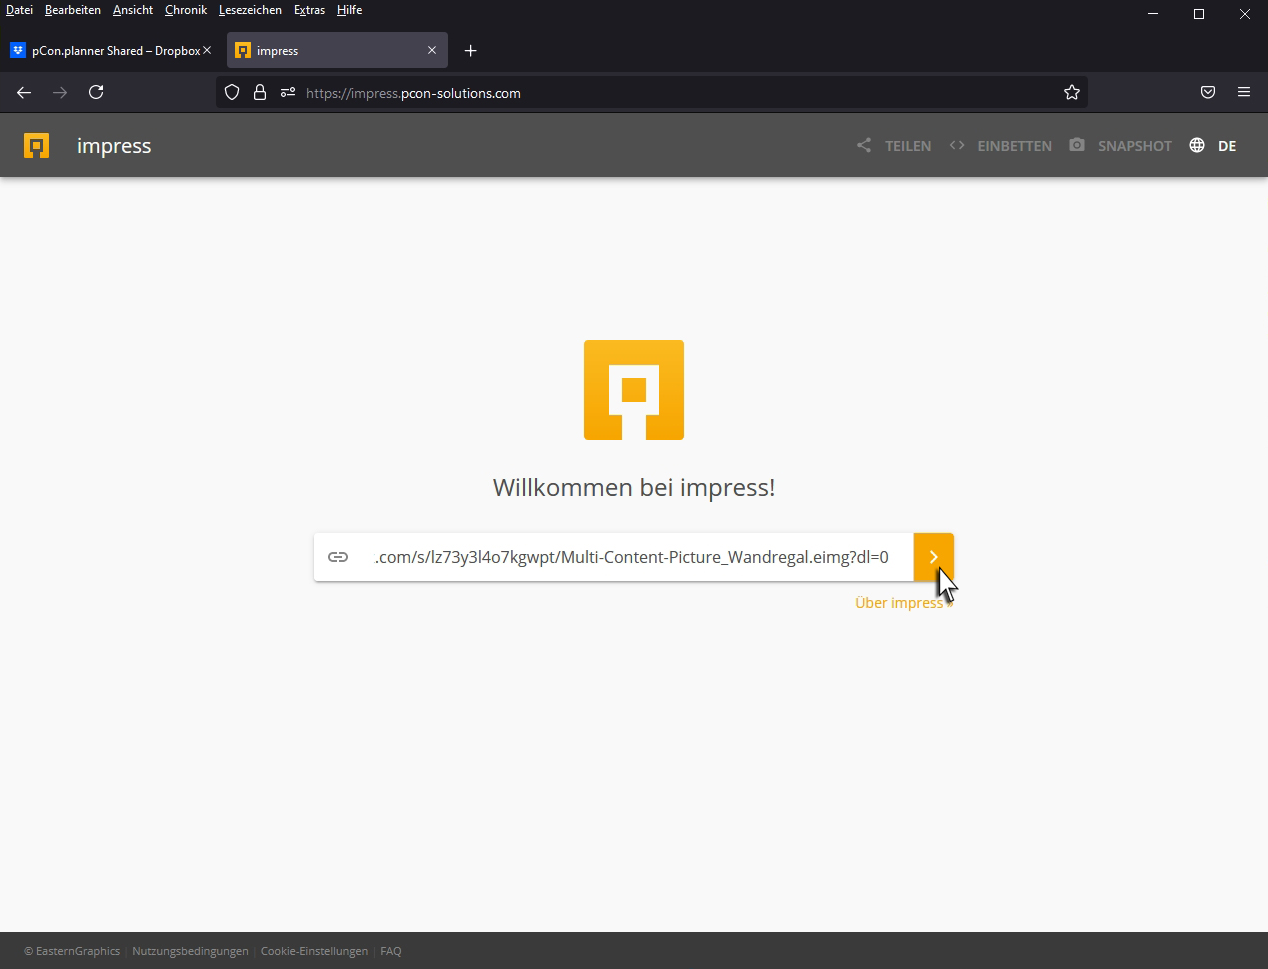
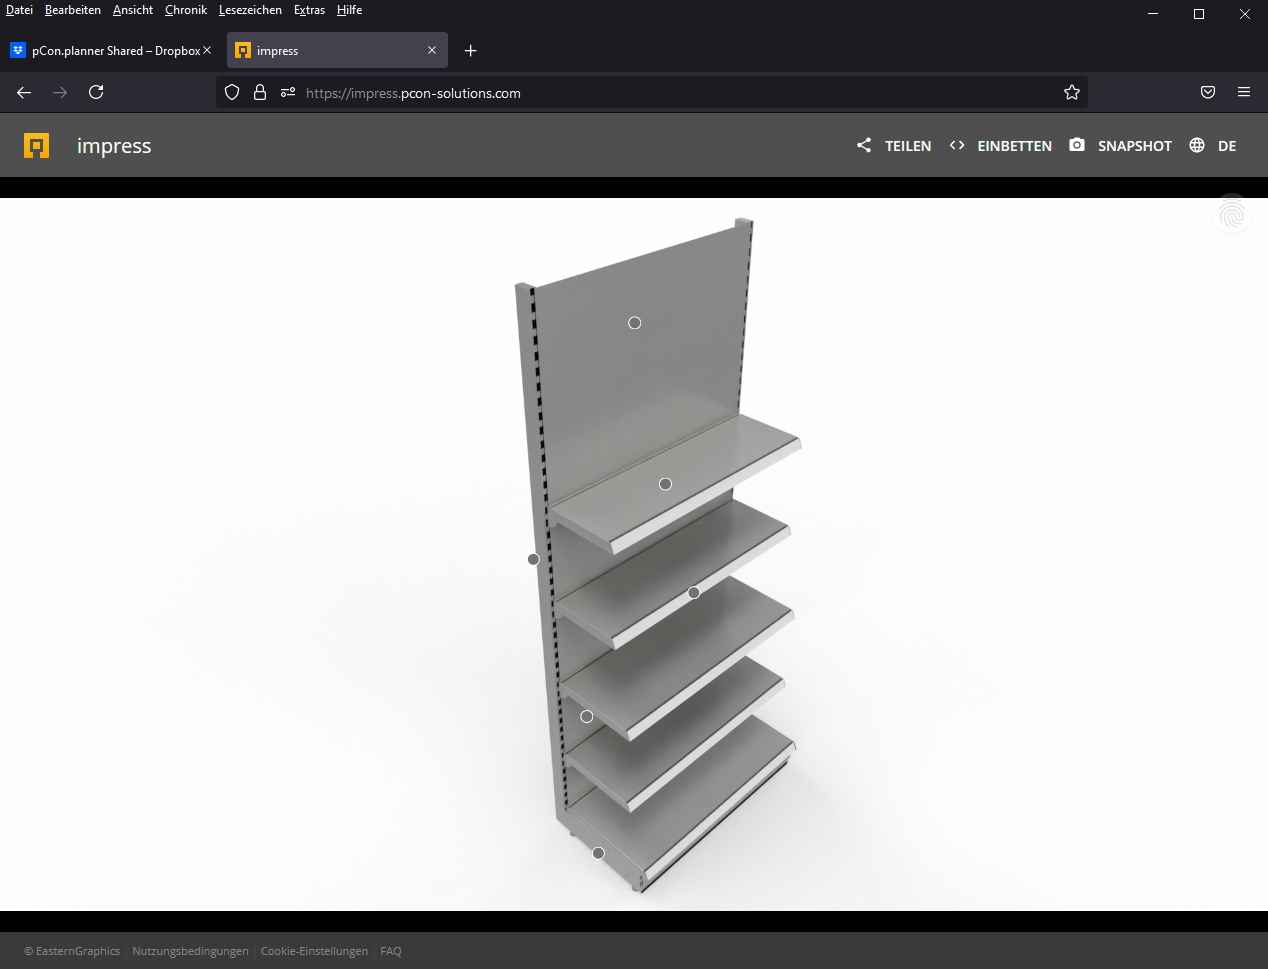
Then, open the following website: https://impress.pcon-solutions.com/
If you need help with Impress, Click here!
On this website, you add the previously copied Link one. With a click on the right arrow, you will be taken to your Multi-Content Picture forwarded.
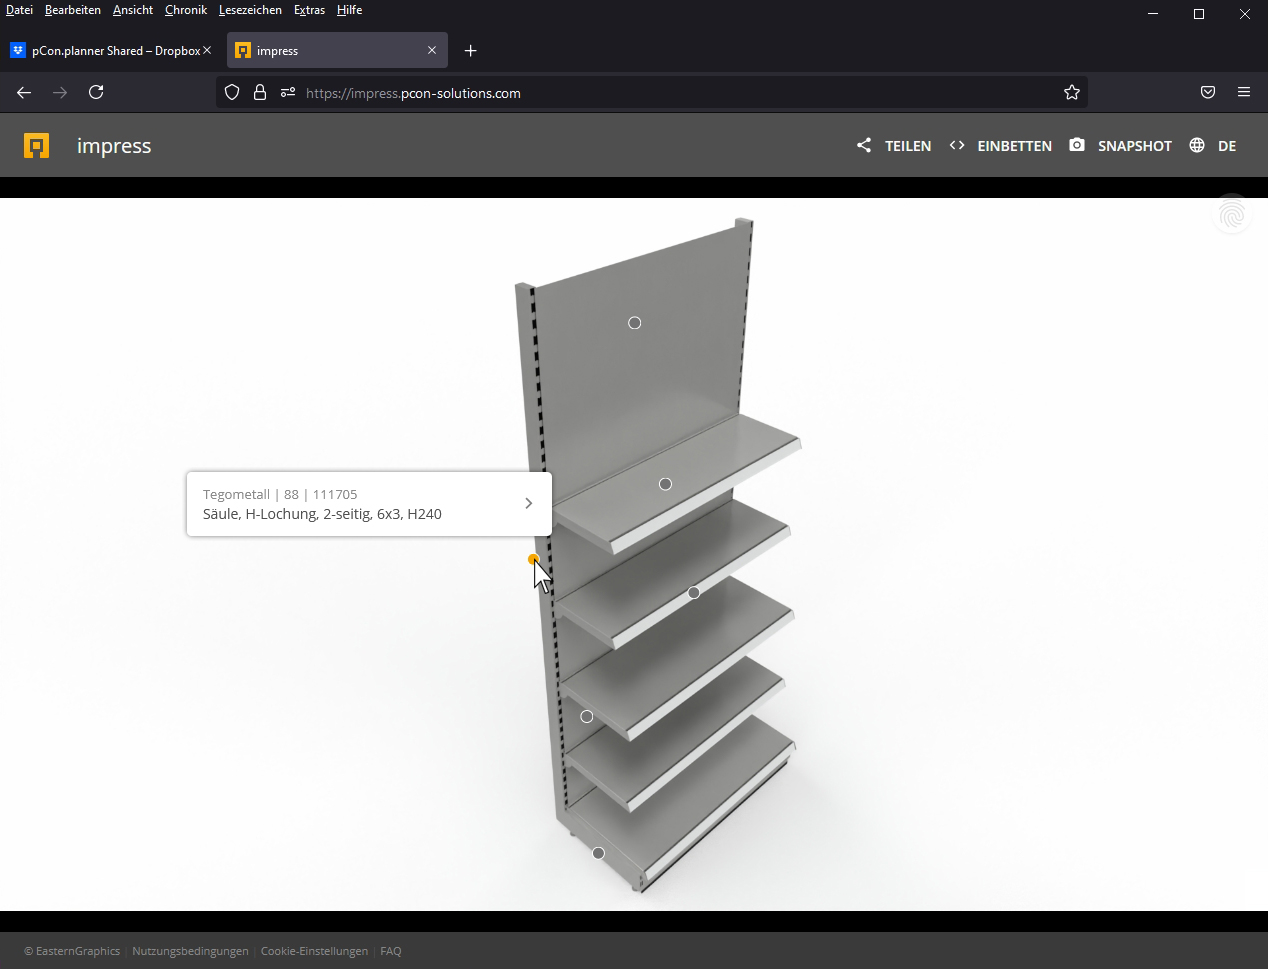
Now, when you hover over one of the circles with your mouse, the previously stored information will be displayed.
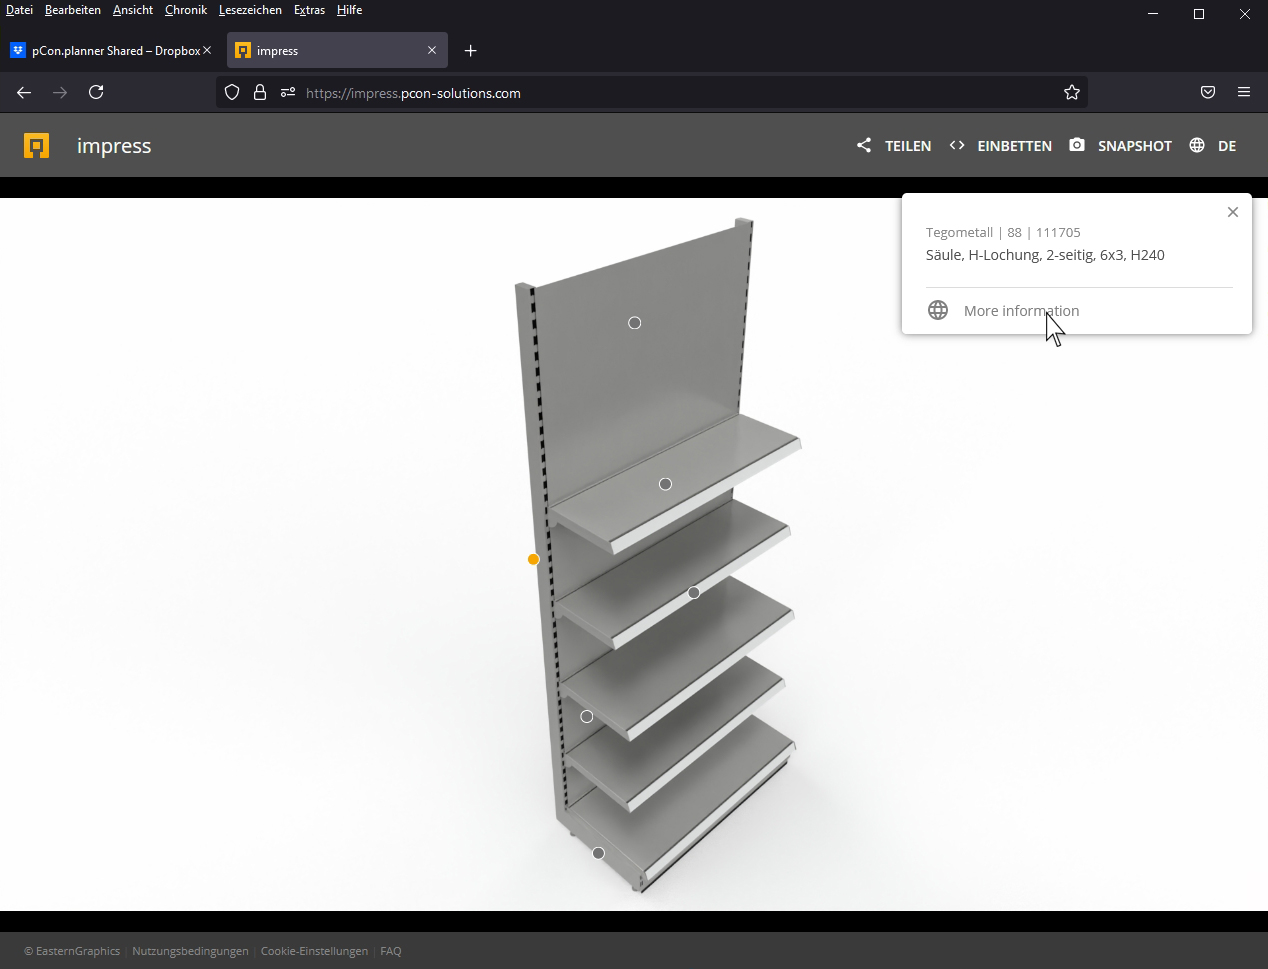
When you click on one of the circles, a window with the long text will open on the right. With a click on Additional Information Go to the website that was previously linked in the scheduling program.
Note:
You can also turn the entire shelf into an article. To do this, read a wall shelf from the catalog again or assemble a shelf from modular components.
Then select the grouped shelf and proceed Shopfitting under Tools on Generate articles. Then all individual articles will be listed in the long text, with their corresponding article numbers.
This can be rendered again and the saved Multi Content Image per Drag & Drop upload to your cloud provider.