Generating growing racks
Creating an attached wall shelf is almost the same as creating a standard wall shelf, only the designation for the base assembly and back panel assembly is different.
Overview

You can find instructions on how to load assemblies under Cut definition to read up on.
Example grow rack
- Now read the following socket assembly: S1647CA
- Example Explanation:
- S16 = Base assembly height 16 cm
- 47 = Depth 47 cm
- C = AM:100 cm
- Cultivation
- Example Explanation:
- Next, please load the following assembly: GL1624CA
- Now follow the shelf assemblies; please provide one for this:
- MB147C | Parameter: vo=0.5/0.9 [ENTER]
- MB137C | Parameter: vo=1.3/1.7 [ENTER]
This completes the second cut and it should look like this on the right in the image.
- Now select the entire wall-mounted shelf and create a new group.
Connect add-on shelf to base shelf
- Click on the wall-mounted shelf; two green dots (coupling points) should now be visible.
- Click the left green dot.
- Now move the attachment shelf to the right pillar of the standard shelf; you should see a green dot.
- Now move the cultivation shelf precisely to the green dot
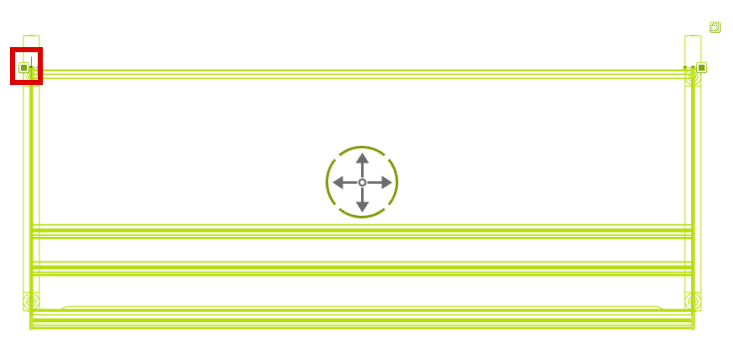
The coupling points were specially created to ensure easier positioning of the cuts. Coupling points consist of two points. The green point is referred to as the „insertion point,“ and the round green one as the „attachment point.“.
Alternative to creating a grow rack
Another way to create the cultivation shelf is to use the previously created standard shelf as a template. To do this, first create a copy of the standard shelf.
Select Copy and click the green cube to work inside the group.
- Select the left column and press [DEL]
- Mark the left footrest and press [DEL].
- Click outside the group to exit the group
- Mark and create on group, change group name to „Growing Rack“