Layout
Overview
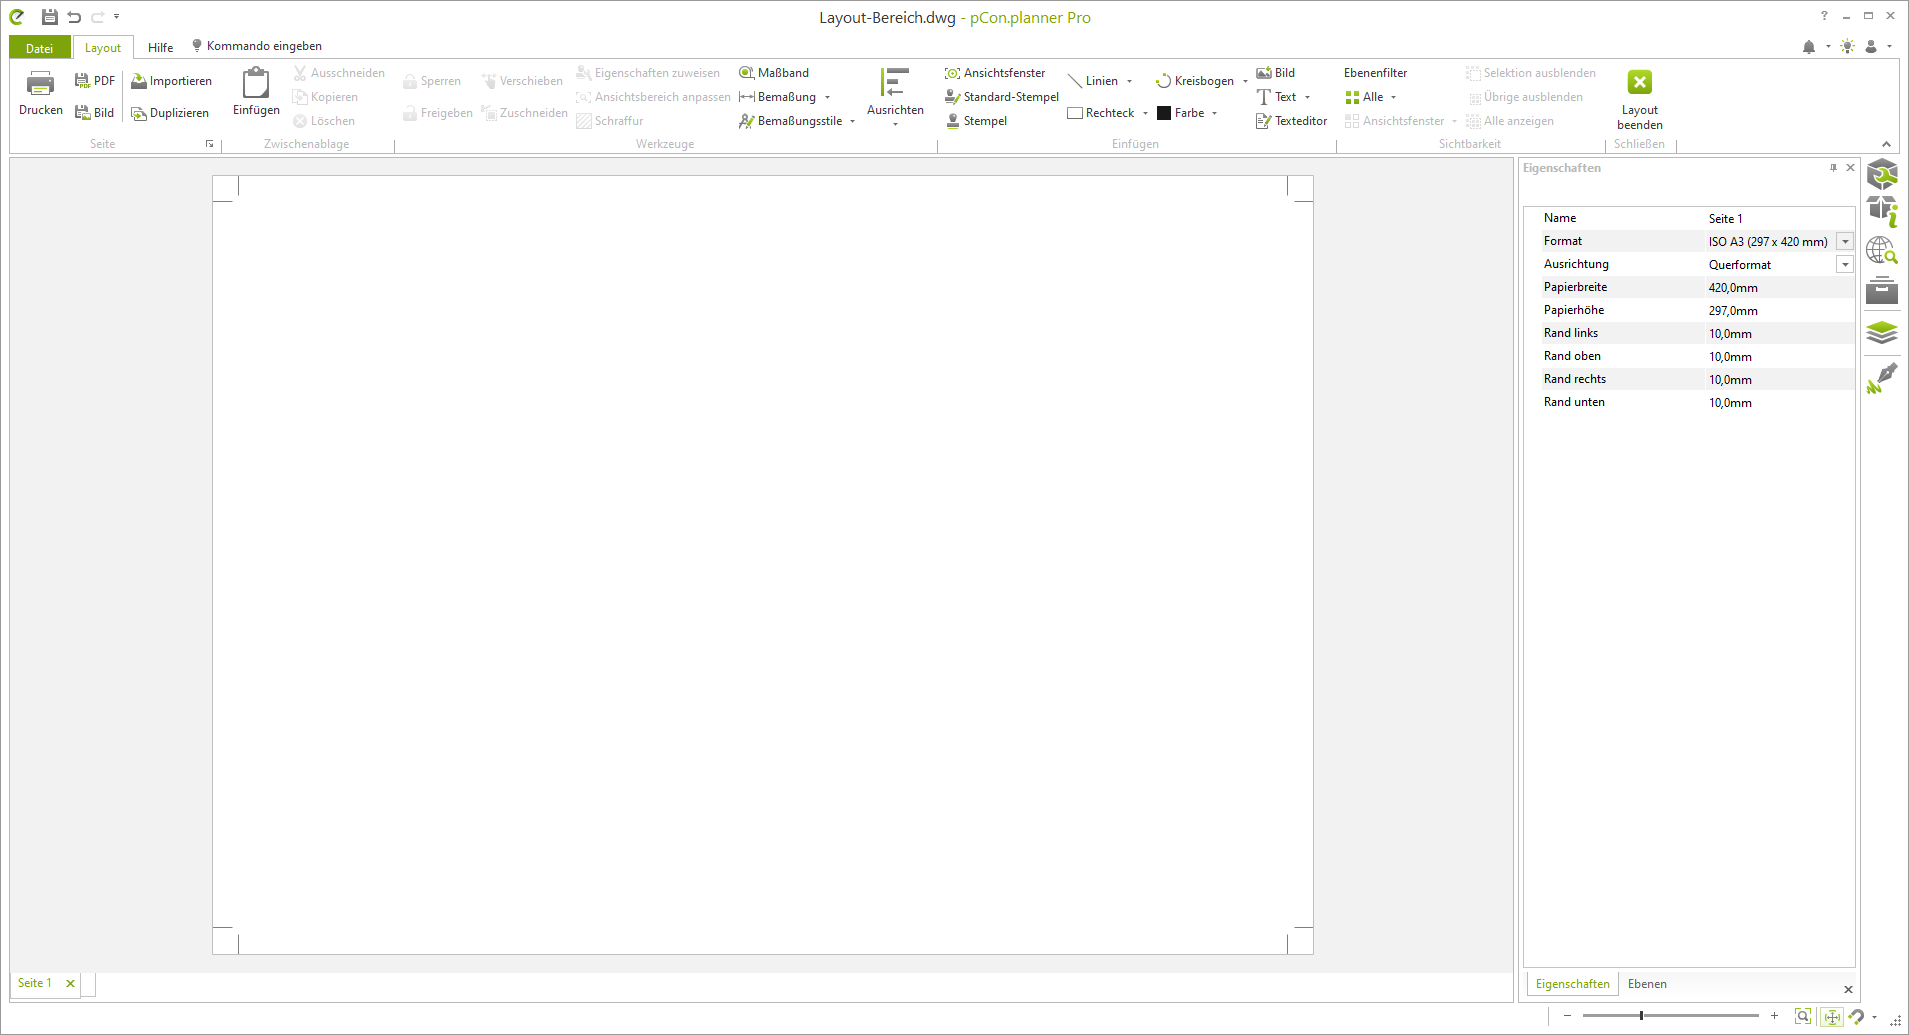
The Presentation tab gives you access to the layout area. In this area, you can assemble pages for printing, which can include elements such as the floor plan and elevations of your design.
General Settings
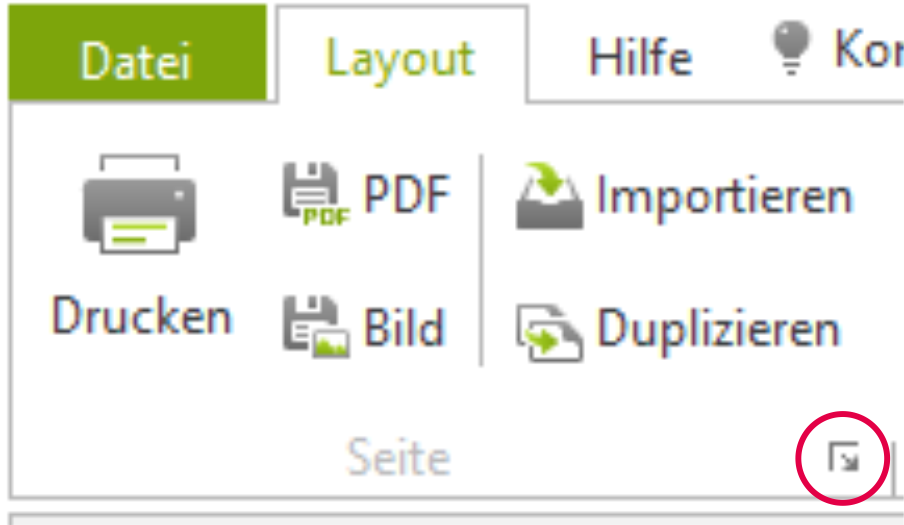
Via the marked arrow in the Page group, you can access the Layout settings.
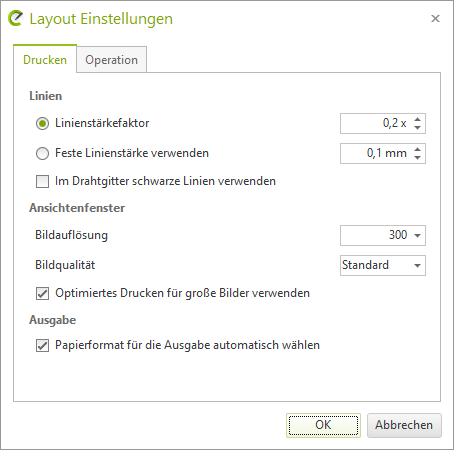
Change the line thickness factor here to 0.2. If it later turns out that the lines are too thin or not fully displayed during printing, gradually increase the value by 0.1.
Setting up a page
In the layout area, a page is already created at the beginning. You can create additional pages and customize them via the properties editor.

- Create new layout page:
- Click on the highlighted area
- Delete layout page:
- Click the cross for the page to be deleted
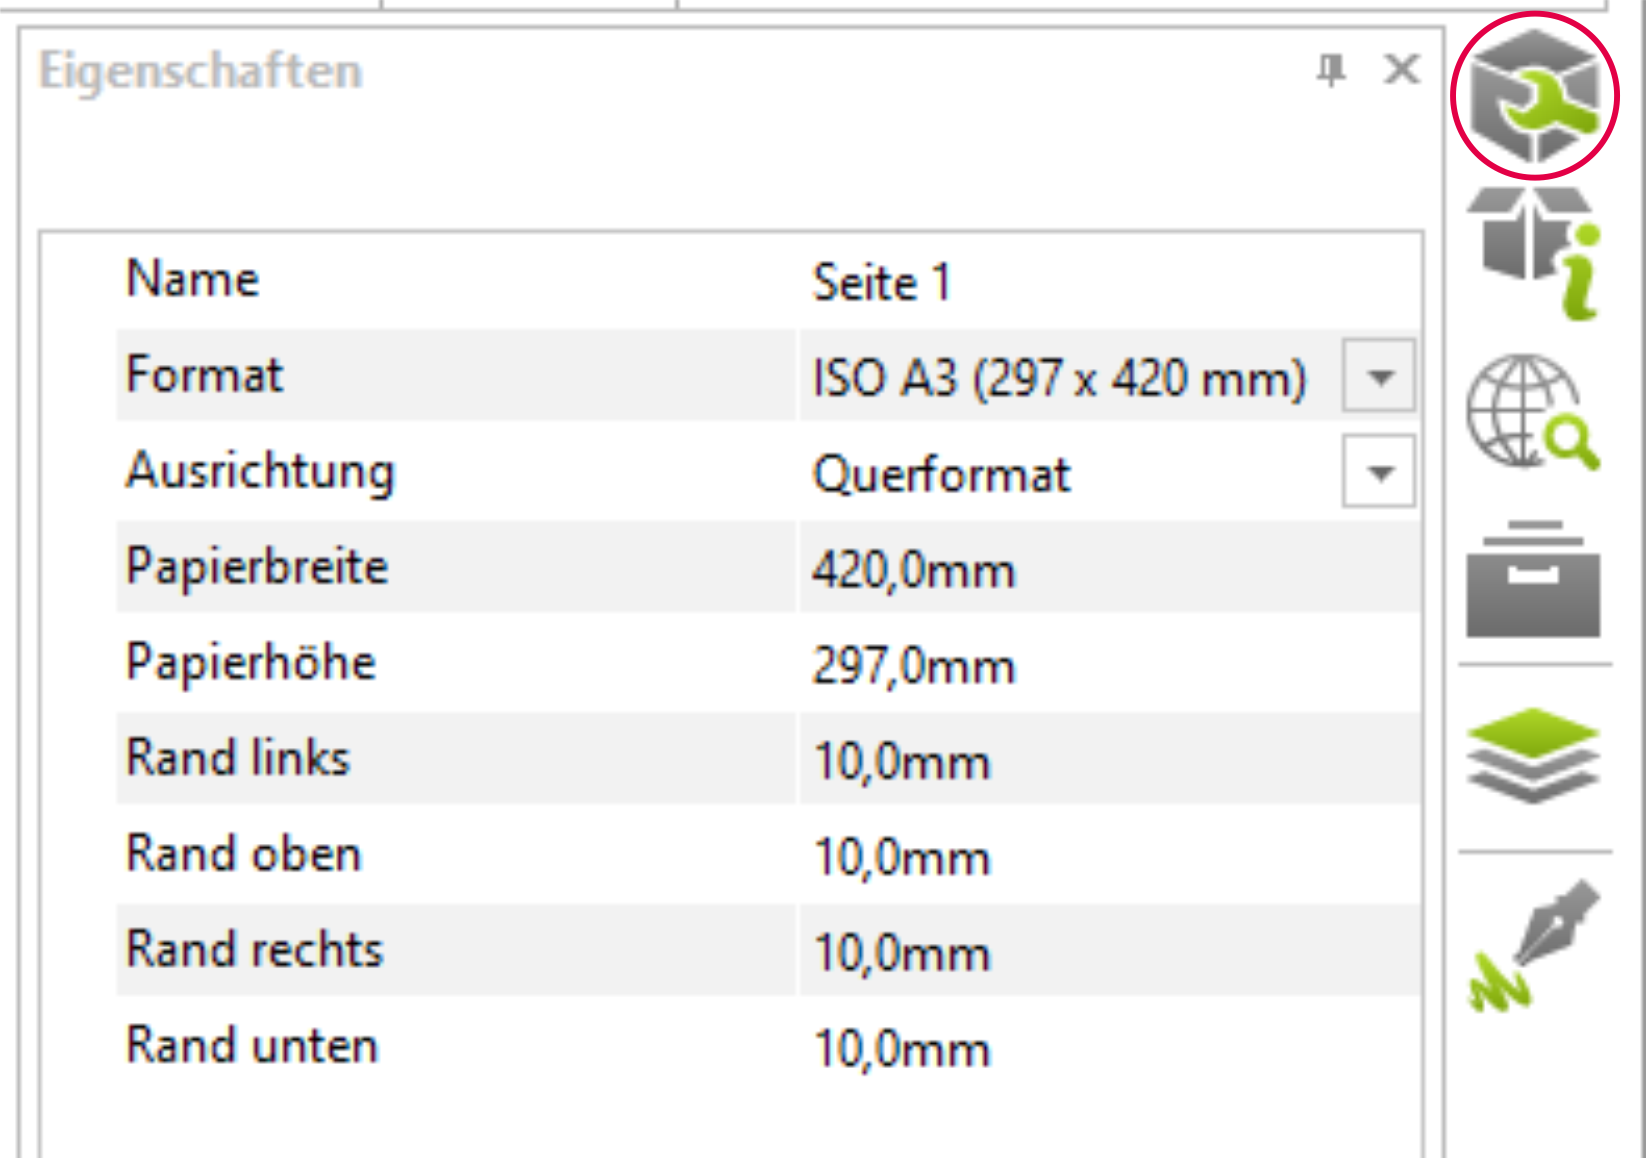
You can make settings for the page using the properties editor.
- Page Name: e.g., Floor Plan, Perspective 1,...
- Paper size: Selection from DIN formats or custom
- Orientation: Portrait / Landscape
- User-specific settings for paper dimensions and margins
Insert and edit objects
You can insert various objects into your layout pages, such as stamps and viewports. In addition, the layout area also offers options to insert images, text, and drawing elements.
Insert stamp
Under the Insert group, you can insert a standard stamp. If you have already created your own stamp, you can select it using the Stamp function. The Properties editor can be used to edit the size, position, and values of the input fields.
Insert viewport
Viewports allow you to place views from the model space into the layout space. Proceed as follows:
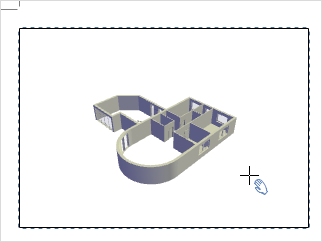
- Click the Viewport button in the Layout tab (Insert group).
- Now click anywhere on the page and drag the window open.
- Another click fixes the window size.
- You can now create additional windows on the layout page. Afterwards, you can make individual settings for each window using the property editor and interaction mode.
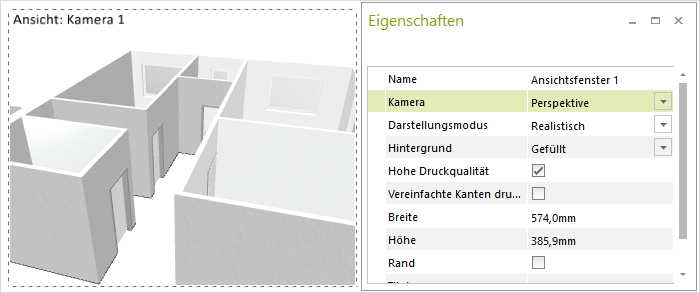
Viewport Properties
Each object on a layout page can be edited in its properties using the property editor, which you can find in the layout area (in the toolbar). Select any object on the page, then click the Properties button. You can then begin making your modifications. The following image shows which properties a view window has and what changes you can make.
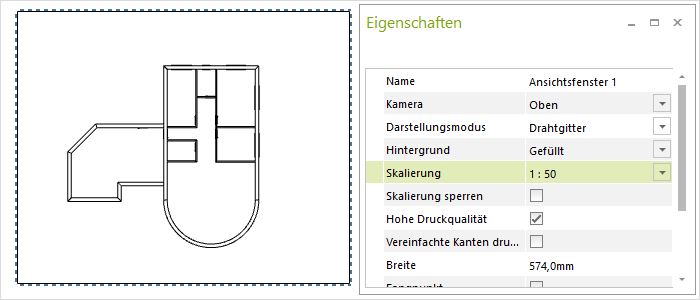
Scale printing of viewports
For viewports in orthographic or isometric projection, or in a 2D view, a scale can be defined. You can set one of the aforementioned projections under Camera using the Properties editor. Then, preset scales are available via the Scaling field. Alternatively, you can enter a custom scale.
Layout templates
So you can use your layout for future planning, save it as a template.
Once you have made all the desired settings and inserted and modified viewports and title blocks, save the layout in the application menu via Save As. In the dialog that opens, select Drawing Template (*.dwt) as the file format and save it to the desired directory. You can recall the layout template using the Import function, Page group, Layout tab.
The template includes all the information you defined. This means that when you import the template, not only will the arrangement of viewports, perspective, and display modes be transferred, but also all information about visible and hidden layers.
